I need to come clean about something: I use my KitchenAid stand up mixer for kneading my bread.
My Breadmaking Guru* (Rich) taught me how to use it to make kneading painless and it is a vital part of my breadmaking process. It's so easy, I just put the bread hook on, set the mixer to knead for awhile and sit back and drink a Buried Treasure**.
Sounds great, right?
But what if you don't have a KitchenAid stand up mixer? Or......you're just feeling lazy?
Enter Lazy Loaf, courtesy of Nigella Lawson. This loaf sounded perfect for days that I just want to mix and go but, really, is it any good?


Honestly, without any kneading or rising I was worried it would turn out to be a brick. And I was half right. This puppy is dense.
But toasted with butter and jam? Awesome. And as sandwich bread? Pretty darn good.
So, in case you don't have your own stand up mixer or are just feeling lazy, here is the recipe:
~~~~~~
* I would recommend everyone finding a Breadmaking Guru.
** This drink is the shit.
My Breadmaking Guru* (Rich) taught me how to use it to make kneading painless and it is a vital part of my breadmaking process. It's so easy, I just put the bread hook on, set the mixer to knead for awhile and sit back and drink a Buried Treasure**.
Sounds great, right?
But what if you don't have a KitchenAid stand up mixer? Or......you're just feeling lazy?
Enter Lazy Loaf, courtesy of Nigella Lawson. This loaf sounded perfect for days that I just want to mix and go but, really, is it any good?
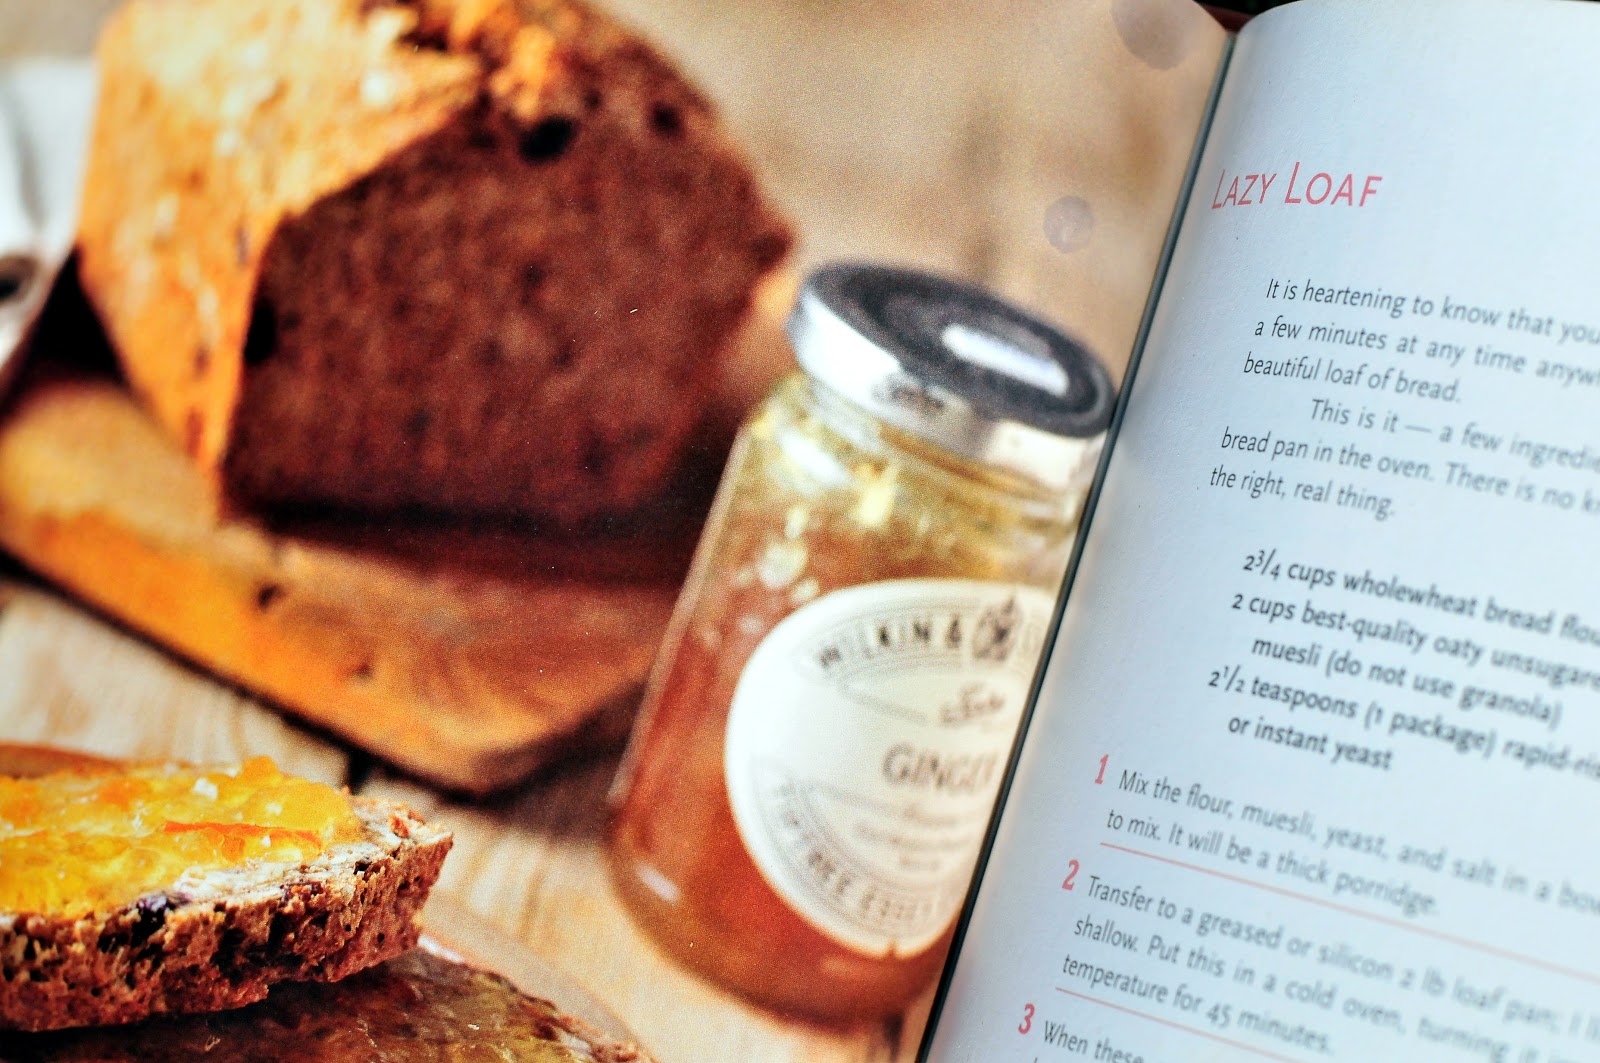
I decided to try it out.

It certainly sounded easy. Just a few things to mix together and then a couple of hours in the oven. Truly for the lazy at heart.

But toasted with butter and jam? Awesome. And as sandwich bread? Pretty darn good.
So, in case you don't have your own stand up mixer or are just feeling lazy, here is the recipe:
Ingredients:
2 3/4 cups whole wheat bread flour (I just used regular whole wheat flour)
2 cups best-quality oaty unsugared muesli (do not use granola) (I used 1 1/2 cup oats, 1/4 cup pumpkin seeds and 1/4 cup sunflower seeds)
1 1/2 teaspoons (1 package) rapid-rise or instant yeast (I used regular yeast that I proofed before using)
2 teaspoons kosher salt or 1 teaspoon table salt
1 cup 2% milk
1 cup water
Instructions:
1. Mix the flour, muesli, yeast, and salt in a bowl, then pour in the milk and water and stir to mix. It will be a thick porridge.
2. Transfer to a greased silicon 2 lb. loaf pan (one that's deep and short rather than shallow). Put this in a cold oven, turning it immediately on to 225 degrees F, and leave at this temperature for 45 minutes.
3. When these 45 minutes are up, turn on the oven temperature up to 350 degrees F and leave for 1 hour, by which time the bread should be golden and cooked through. Slip it out of its pan and although dense - it is that kind of loaf - it should feel slightly hollow when you knock it underneath. You can always slip it back in the oven, out of its pan, for a few minutes if you think it needs more baking.
4. Remove to a rack and let cool.
~~~~~~
* I would recommend everyone finding a Breadmaking Guru.
** This drink is the shit.
Comments
Post a Comment